I like nothing more than designing and sewing, and this past Christmas I spent a lot of time making everything to give away, as you could see with “Beautiful Connection Group – USA“.
This time I show you the fur poncho I made for my sister. In addition, she left you the clothing scheme so that you can make your own, if you want, with a schematic explanation that I hope will help you.
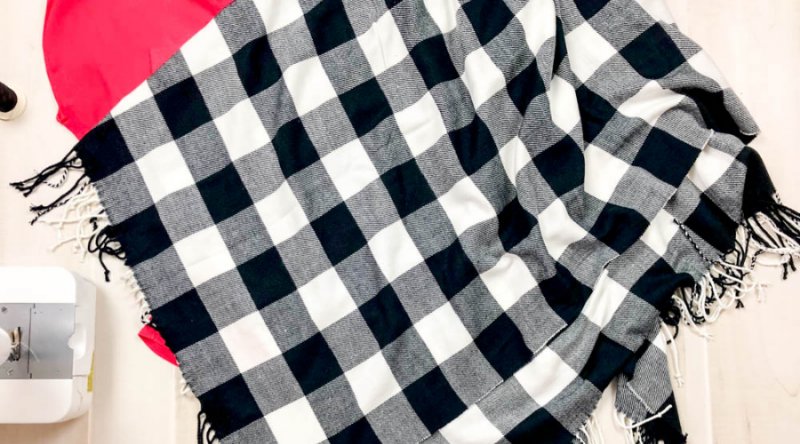
The cutting and sewing of this poncho is very easy, you will only need a square of fabric, a couple of cuts here and a couple of seams there and you will have it ready in no time.
In my case, to make it I chose a purple fur fabric, it is my favorite color by far, and it was also so soft that I wanted to constantly coat it as if it were a croquette.
Of course, this type of fabric is not very easy to handle, especially if the machine does not have enough power, but with a little patience and the right presser foot, everything is possible.
As I have mentioned, the poncho is basically a square of fabric with a hole for the head, two side seams to close the garment and some buttonholes on the sides of the waist to pass a loop or belt.
The materials you will need are:
- 1.50 meters of fabric 1.60 meters wide.
- Sewing utensils: sewing machine (obviously, although you can also sew by hand), scissors and matching thread.
And how we do it?
Before starting you have to fold the 1.5 meters of fabric in half widthwise and hold it all around with pins. You will have a 75 x 160 cm rectangle. In the part where the fold of the fabric is, we will place the neck.
It is so easy that you are going to hallucinate, although as I always say it is more complicated to explain than to do it.
Here you have the cutting and sewing scheme with the fabric once folded:
And now I leave you some basic steps to make it easily:
- Measure the width of the fabric and cut the excess until you have a double fabric rectangle of 75 x 150 cm. You can use this leftover to make a loop that can be used to fit the pongo to the waist.
- Now we are going to give the curved shape to the sides of the poncho.
First we will measure in the lower part of the poncho the measurements according to the clothing scheme (15 cm inwards), and we will join the upper end of the poncho with the new lower mark with a curved line that we will draw with markers (if you can use curved rulers and if not , you can do it freehand).
When we have the curved shape marked on one of the sides of the poncho we cut it (both fabrics at the same time) we fold the poncho just in half its width and guided by the curved side that we have already cut, we cut the other side.
In this way we will get them to stay the same. Now unfold the poncho again.
- Mark the location of the collar according to the sewing diagram (63 cm from each end). To mark the points you can use pins or markers -if it is a pile fabric, do it on the wrong side-.
- We are going to draw the neck: As you can see, the neck is 24 cm wide. To draw the neck we mark the central point of those 24 cm (12 cm) and from that point down we measure 8 cm and mark. With a curved line we join the two sides of the neck with the midpoint at 8 cms.
- We cut the curved shape of the neck but only on the front face of the poncho. The line of the neck of the back will keep it straight, as is.
- If the fabric that we are using frays, it is convenient to pass a wide zig zag with our sewing machine through the entire perimeter of the poncho and the neck, or overlock it if you have an overlock machine.
- Later we will sew a simple hem around the poncho and also around the neck (depending on the type of fabric, you may consider finishing the outline with a bias tape).
- Now we are going to sew the sides of the poncho respecting the openings for the arms according to the sewing scheme (25 cm from the upper end of the poncho), from those 25 cm down we sew with a straight stitch.
- And we will end up making the buttonholes to pass the loop. To do this, we hold the bottom of the poncho with pins so that it does not move and we mark the exact location of the buttonholes (40 cm from the side of the neck downwards and 27 cm from the center line of the poncho towards the sides).
Once we know the location of the buttonholes, we will draw a straight line approximately 5 cm perpendicular to the base of the poncho with chalk and open it by making a cut.
Remember always when you think “how to make poncho” that you have to open the buttonholes right at the same point of the poncho on both sides. Once you have the buttonholes open, finish them off with a zig zag stitch -tighter or less depending on the type of fabric- along their outline.
Check Out Our Blog: SUMMER WARDROBE ESSENTIALS EVERY GIRL NEEDS